
Create Custom Feeds and Ingest Third-Party Feeds into Enterprise EDR
Introduction
Learn how to create custom feeds using Postman and how to configure the Enterprise EDR TAXII connector using our Python SDK. This connector allows for the importing of STIX data by querying one or more TAXII services, retrieving that data, and pushing the data into Enterprise EDR. Watch the below video for a step-by-step tutorial on how to ingest 3rd-party feeds.
Prerequisites
To enable the integration, you must have the below products:
Carbon Black Cloud Configuration
|
Permission (.notation name) |
operation |
|
org.feeds |
Create, Read, Update, Delete |
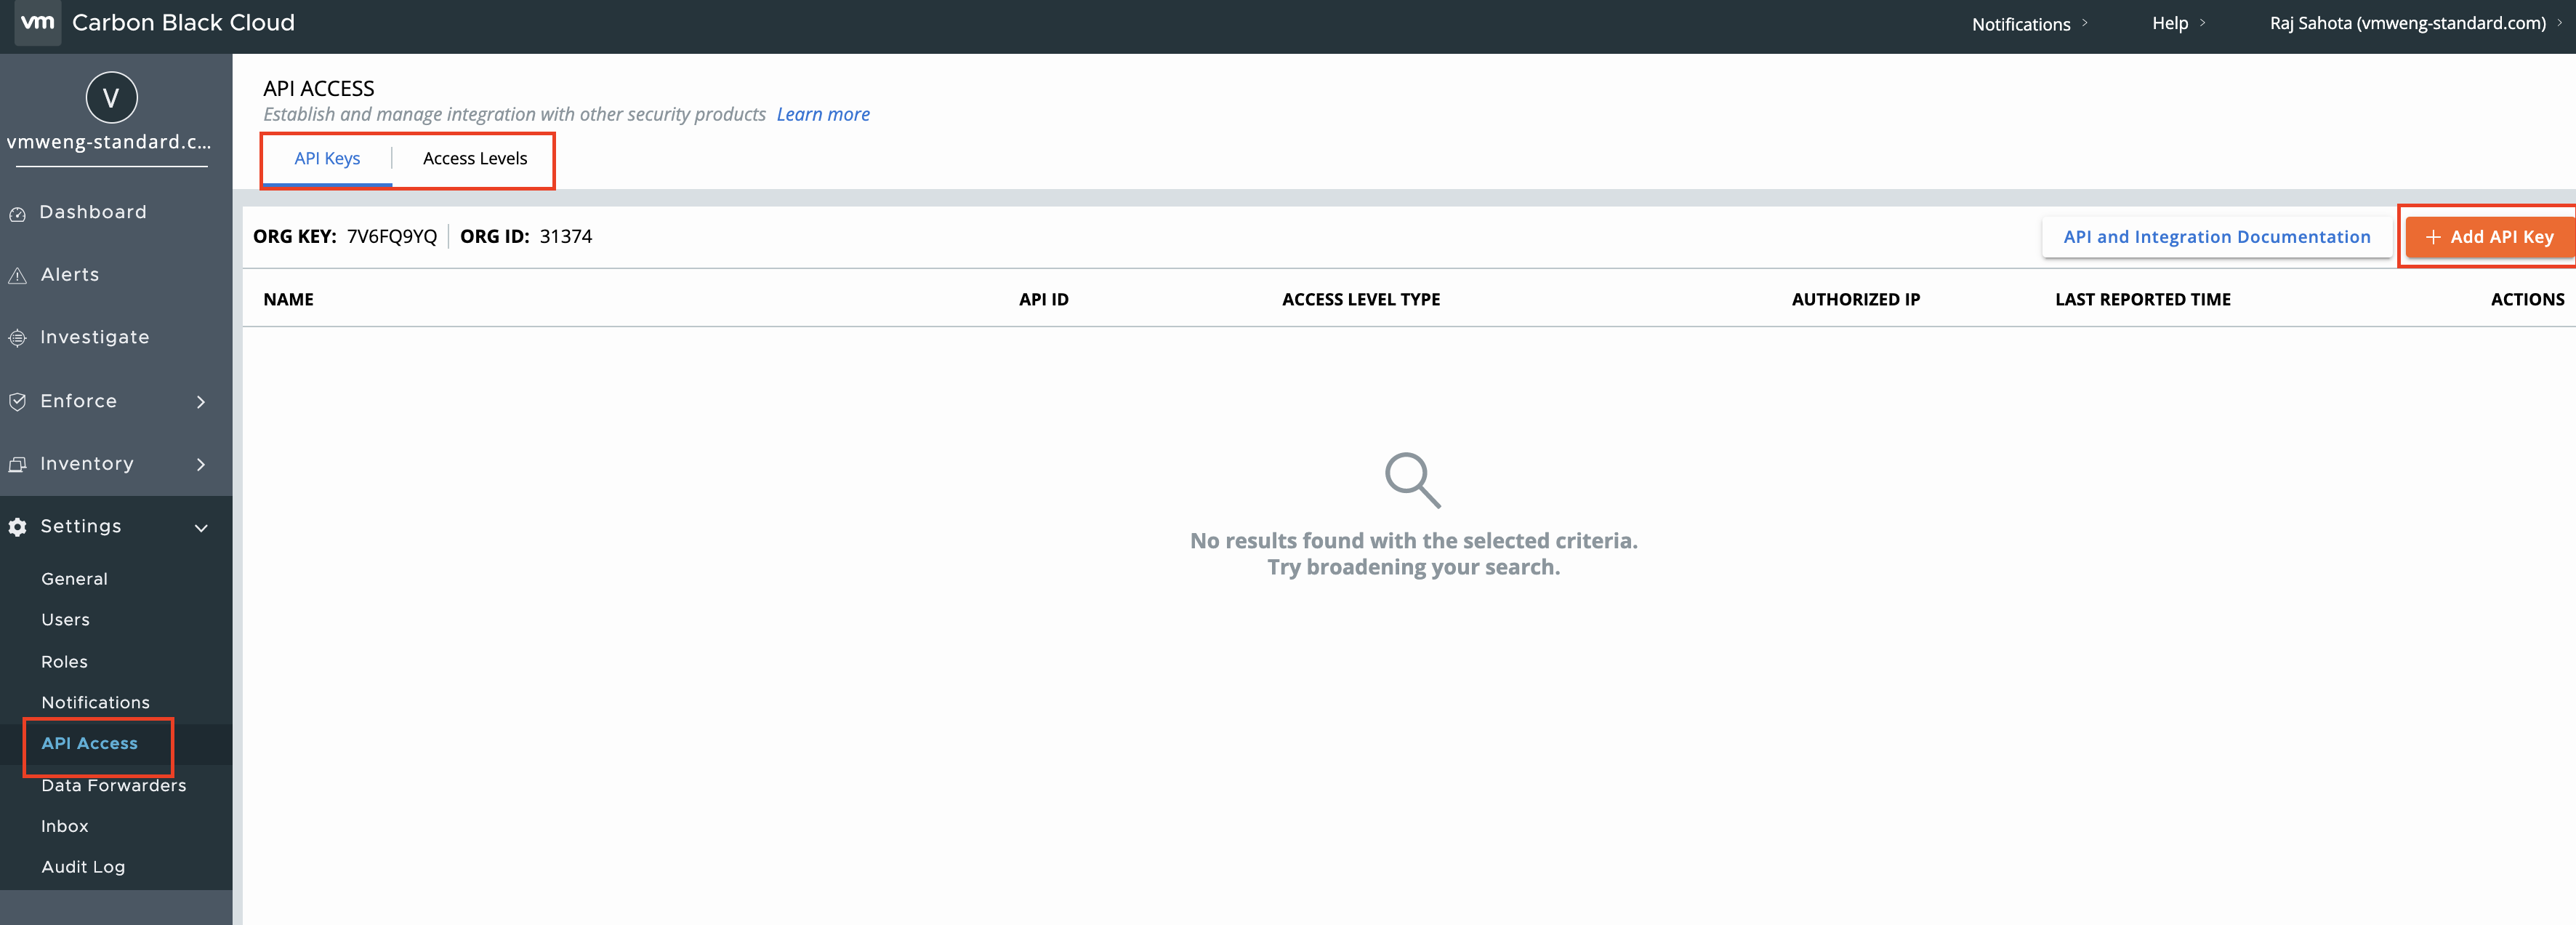
In the Carbon Black Cloud, to create custom permissions navigate to Settings > API Access > Access Level > Add Access Level. To create API Key, go to Settings > API Access > API Keys. For more information on creating custom access levels please refer to User Guide.
Create Empty Feed
Once you have created the API, you can use this key to create the new empty feed that the threat intel module will update the 3rd party IOCs into. To do this, use the following API call:
POST {cbc-hostname}/threathunter/feedmgr/v2/orgs/{org_key}/feedsWith the following body:
{

"feedinfo": {

        "name": "[string]",

        "owner": "[CBC ORG Key]",

        "provider_url": "[string]",

        "summary": "[string]",

        "category": "[string]",

        "source_label": null

        },

    "reports": []

}
For more information on the body and schema, please refer to our API guide.
Once created, the new feed will have a unique Feed ID. This will be required when setting the config file in the Threat Intel Module. To get the Feed ID, use the following API call to get all information on all feeds
GET {cbc-hostname}/threathunter/feedmgr/v2/orgs/{org_key}/feeds
Then locate and take note of the ID for the newly created feed within the feed information.
Subscribe to Feed
To use the Threat Intel Module, a subscription to a TAXII service is required. The service will provide information that will be used in the Threat Intel Module to fetch and publish data into the newly created feed.
Configure Threat Intel Module
Now that the feed has been created, we need to install and configure the Threat Intel Module.
The Threat Intel Module has two main uses:
- Report Validation, each report to be sent to the Carbon Black Cloud should be validated before sending. The Enterprise EDR report format is JSON.
- Pushing Reports to an Enterprise EDR Feed
The Threat Intel Module is on GitHub and once installed, the config.yml file will need to be configured with the details provided by the 3rd Party Feed Provider. The below options are mandatory within config.yml:
|
Value |
Description |
Example |
|
The feed_id of the ThreatHunter Feed you want to send ThreatIntel to |
7wP8BEc2QsS8ciEqaRv7Ad |
|
|
site: |
The address of the site (only server IP or DNS; don't put https:// or a trailing slash. |
limo.anomali.com |
|
discovery_path: |
The path of the site for discovering what services are available is supplied by your taxii provider. |
/api/v1/taxii/taxii-discovery-service/ |
|
collection_management_path: |
The path of the site for listing what collections are available to you is supplied by your taxii provider. |
/api/v1/taxii/collection_management/ |
|
poll_path: |
the path of the site for polling a collection, this is supplied by your taxii provider. |
/api/v1/taxii/poll/ |
|
use_https: |
If you require HTTPS for your TAXII service connection, set it to true. Defaults to true. |
|
|
ssl_verify: |
By default, we validate SSL certificates. Change to false to turn off SSL verification. |
|
|
start_date: |
The start date for which to start requesting data. Use %y-%m-%d %H:%M:%S format. |
2019-01-01 00:00:00 |
Once the config.yml has been configured, we need to run the module. For a one time run, use the following:
[roo@localhost threat_intelligence] python stix_taxii.pyIf reports do not show up, use the stix.log file for troubleshooting.
Summary and Additional Resources
Additional Resources
- Carbon Black Cloud API Access
- Carbon Black Cloud SDK Installation
- Carbon Black Developer Network
- Custom Feeds in Enterprise EDR - How to Ingest 3rd-Party Feeds into Enterprise EDR - Video
Change Log
The following updates were made to this guide:
|
Date |
Description of Changes |
|
2021/11/30 |
|
| 2023/05/21 |
|
About the Author and Contributors
Raj has over fifteen years of consulting experience in Cyber Security. Raj has vast experience in multiple security disciplines which has been gained while working at the two biggest resellers in the UK. Supporting their customers, he has worked as a consultant at many major UK and European companies, providing support with design, implementation, best practices, and testing, utilizing current and newly purchased security products. At VMware, Raj has worked as a Professional Services Consultant, a Solution Architect and is now using his extensive knowledge and experience in his Technical Marketing role. His focus in Technical Marketing is on securing the distributed workforce.
- Raj Sahota, Senior Technical Marketing Architect, Network and Advanced Security Business Group, VMware
Feedback
Your feedback is valuable.
To comment on this paper, contact VMware Security Business Unit Technical Marketing at sbu_tech_content_feedback@vmware.com.